


In today’s video I’ll build this colorful rectangular wooden wall shelf. It consists of three rectangles joined together, creating this contemporary artistic look.
I was very excited to finish this project and the end result exceeded my expectations.
So, let’s start building it.
Here are the materials I used:
- Wood boards 18 mm thick, 30 cm wide (your local hardware store)
- White paint
- Universal tints
- Wood glue
- Painters tape
- Picture hangers
- Screws
Types of tools I used:
- Jigsaw
- Ruler
- Square ruler
- F-Clamps
- 90 degree angle clamps
- Sand paper
- Pencil
- Paint brushes
- Screwdriver
Disclosure: As an Amazon Associate I earn from qualifying purchases.
Related: How To Build A Wooden Desk Lamp | DIY Project
Step 1: Marking the boards.
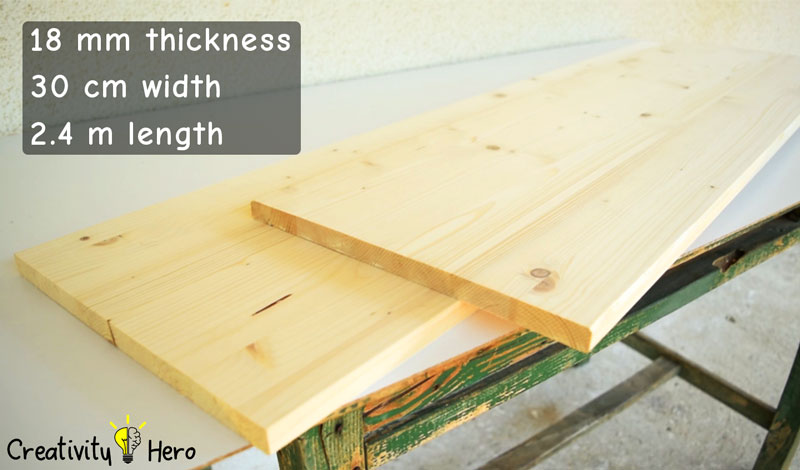
For this project I’m using two solid wood boards. They are 18 mm thick and 30 cm wide, with total length of 2.4 m. I decided the depth of the shelf to be 15 cm, which is exactly half of the initial width of the boards.
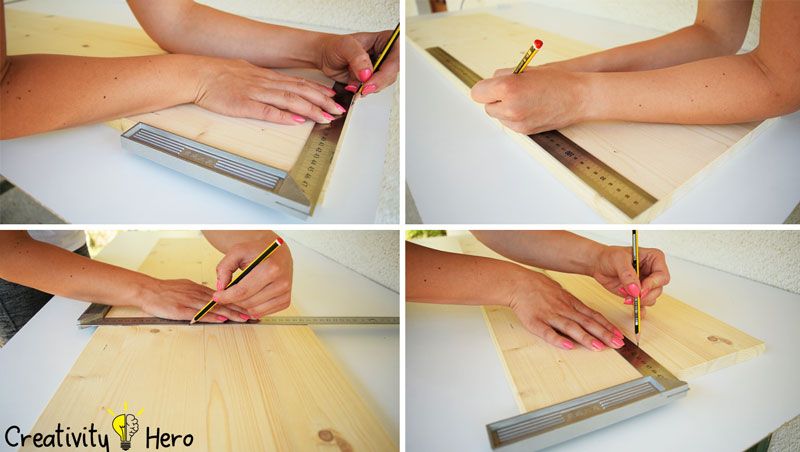
I made the design of the shelf, determined the exact dimensions, and marked them onto the boards with a pencil and a square ruler for precision.
Step 2: Cutting the boards with a Jigsaw.
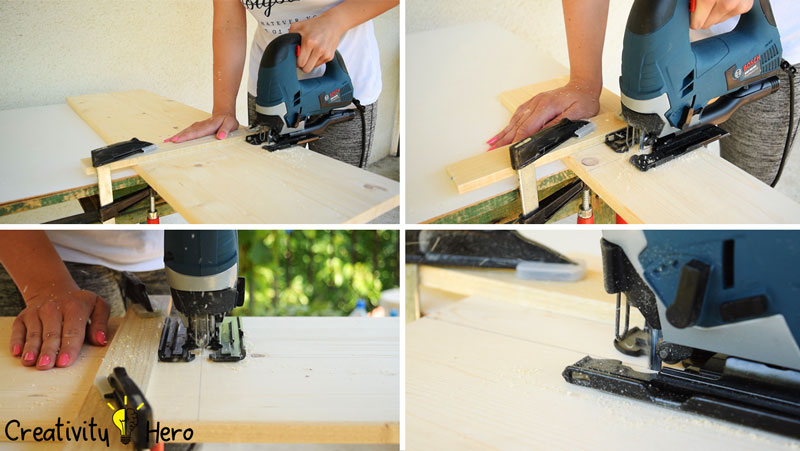
After that, I’ve cut all the pieces with a jigsaw. If you don’t have a jigsaw, or some other power cutting tool, a hand saw will do the same work for you.
I’ve never used a jigsaw before, but this project requires so many cuts, which means that if I used a hand saw it would take me ages to cut the boards. So, it saved me a lot of time and energy.
I used a piece of wood as a guide along with some clamps to make straight cuts.
All you need to do is to draw a line onto the board where you’d like to make your cut. Measure from your pencil line the same distance you measured on your saw and draw another line. Do this to both sides then clamp your guide onto these marks. Adjust till it is as perfect as you want.
Then, start your cut. While cutting keep the saws shoe against your guide and you will get a nice straight cut. Cut slow and steady.

Now I have 1 piece of wood 45 cm long, 3 pieces 40 cm long, 6 pieces 25 cm long and 2 pieces 20 cm long.
Step 3: Sanding the pieces of wood.
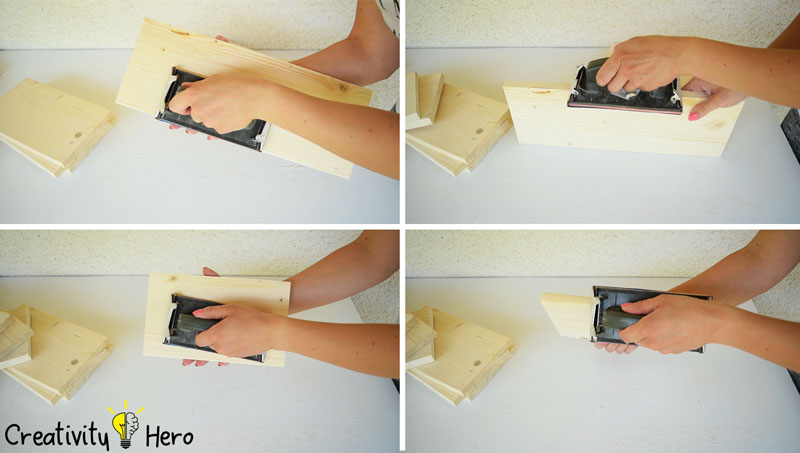
Before assembling the shelf together I’m going to sand it down first with a 120 grit sand paper, and then with 220, which is enough to make everything nice and smooth.
It took me some time until I finished, but it was much easier to sand the pieces of wood one by one, instead the whole shelf after it is assembled.
Step 4: Gluing the pieces together.
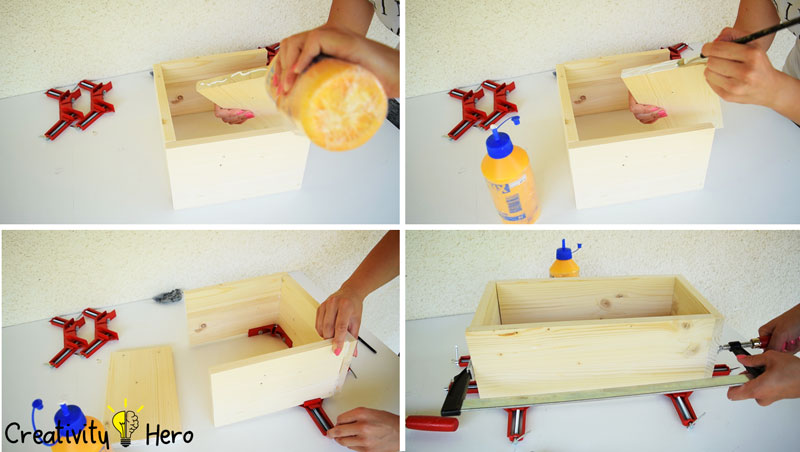
When it comes to joinery technique, I decided to glue the pieces of wood together using only a wood glue and clamps. I’ve made a few projects applying the same technique, and the creations turned out to be very tight and safe to use.
I applied a nice coat of wood glue onto the joining parts of the wood, and used 90 degree angle clamps and F-clamps to hold everything in place.
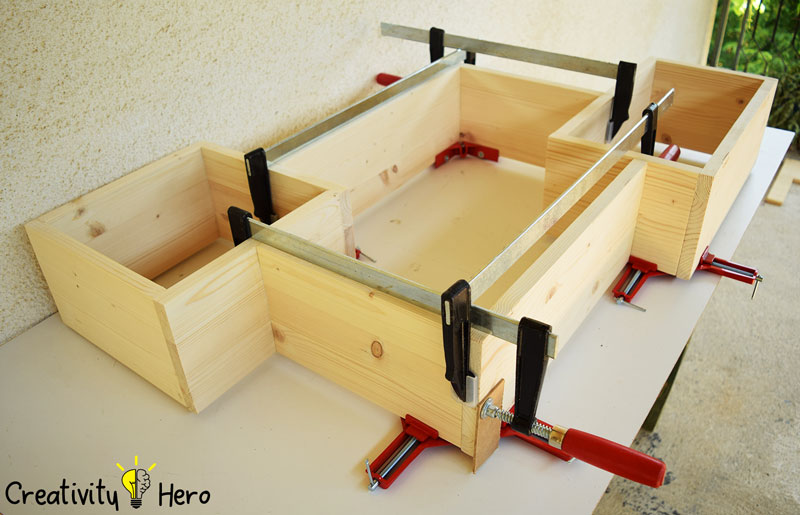
It was much easier for me to glue the whole rectangles first, and then to attach the parts of the divided rectangle in the middle. I left it to dry out for a few hours.
Step 5: Painting the shelf.
With that done, now it is time to add some color on the shelf. I’ve been thinking a lot about the color, because I wanted to combine white with some other colors and make it look more stylish and attractive. So, I decided to stain the two whole rectangles with a wood stain, and to paint the middle part white.
But, when I started staining the first rectangle I didn’t like how it turned out at all. As you can see, there are a lot of imperfections on the wood which I can’t fix with a sand paper, so it looks so rough and messed up.
I wasn’t sure how I was going to fix this problem, but fortunately, I found white oil based paint, and some universal tints in different colors. So, I started with the stained rectangle, because I wanted to see what will happen when I paint it white.
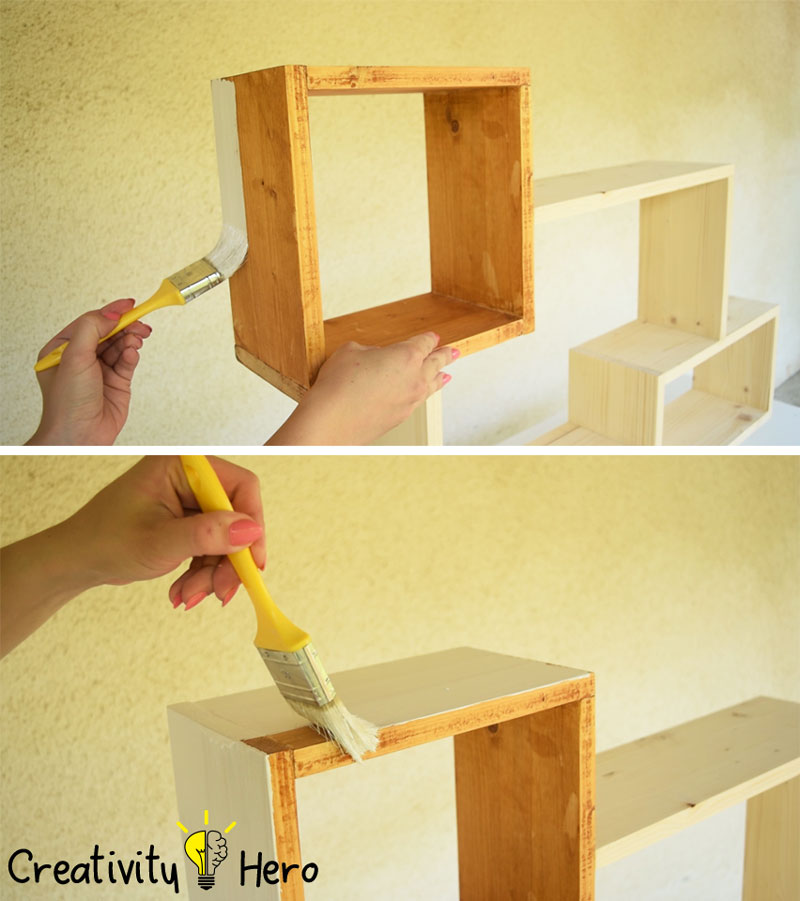
The paint covered all the imperfections, and looked pretty well. I was very satisfied with how it turned out. I continued painting the entire shelf white from the outside. There was no difference in the color between the rectangles.
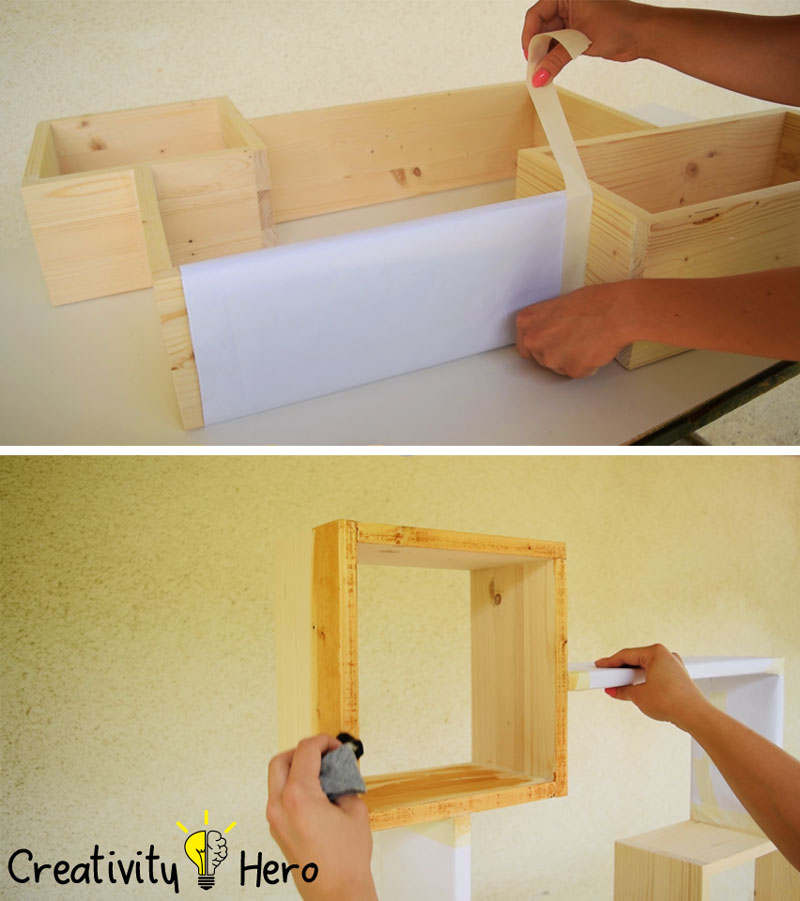
As there are three different parts of the shelf, I wanted to paint their inside in three different colors. I picked blue, yellow and green tint, and put a few drops into the white paint to get nice bright colors.
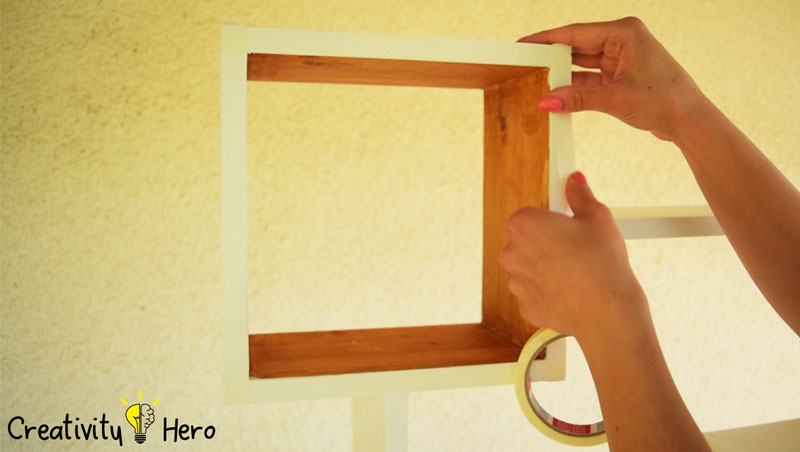
Before painting the inside, I put a painters tape to keep clean, sharp paint lines and to protect the surface from unwanted drips and splatters.
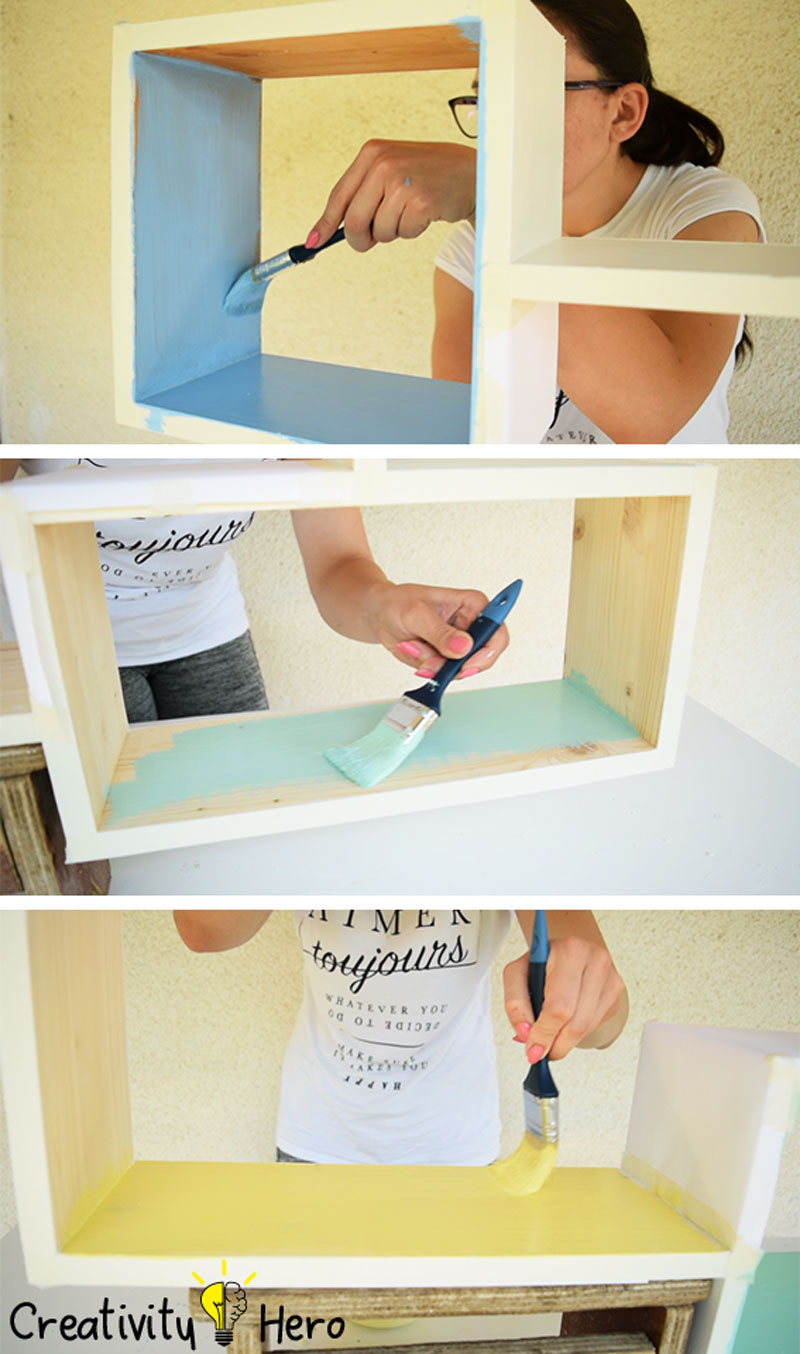
The colors were perfect, exactly as I expected, and actually I liked this idea much more than the previous one.
I removed the tape, and left it to dry overnight.
Step 6: Hanging the shelf on the wall.
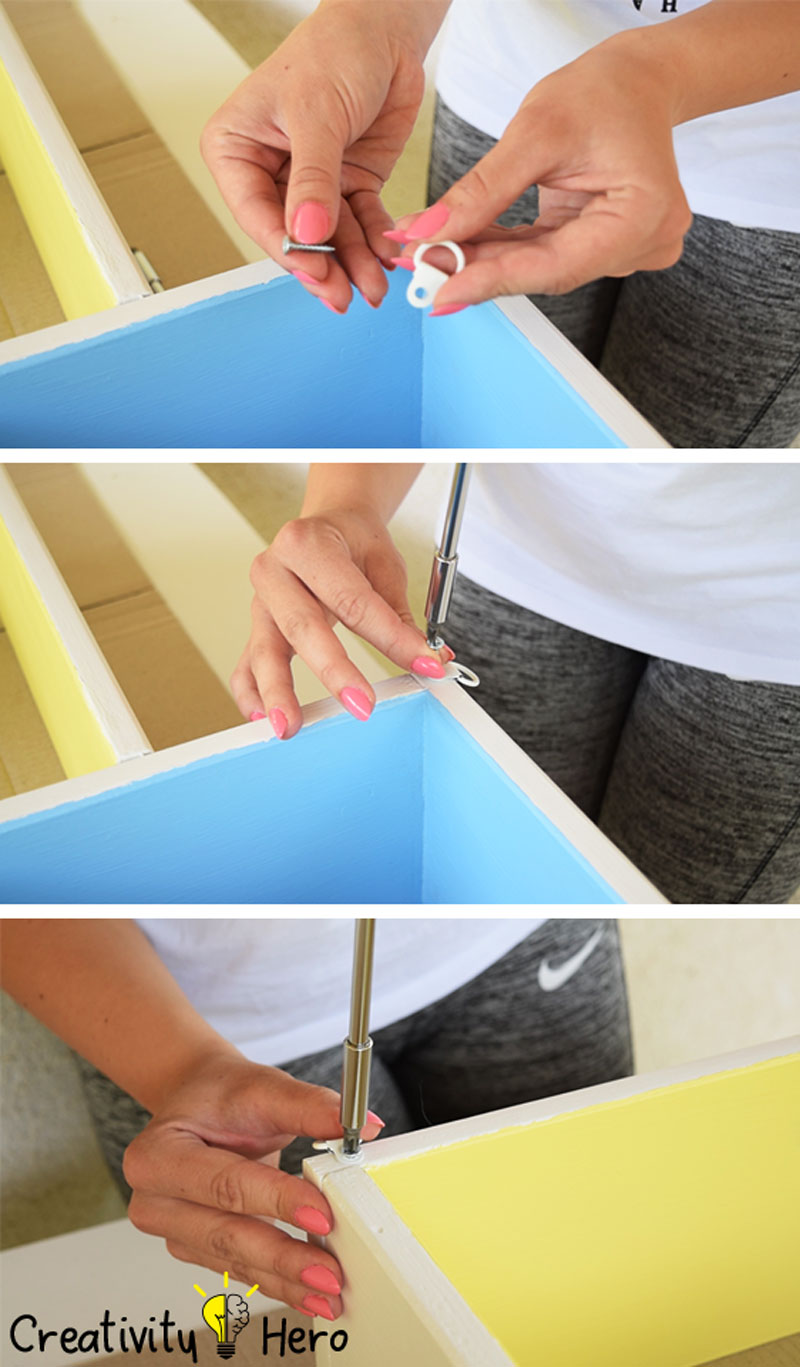
To mount this shelf to the wall I’m going to use plastic screw drywall anchors, and some picture hangers.
Although I wanted to use sawtooth hangers, I couldn’t find in the place where I live, so I used two D-ring hangers instead. They were silver, but I painted them white to match with the shelf color. I secured them with screws on the back side of the shelf and realized that I really liked the way they looked on the shelf.
You can use tape or you can have somebody hold the shelf in place until you find the right spot for it.
Then, mount the shelf to the wall.
Step 7: Putting some decorations on the shelf.
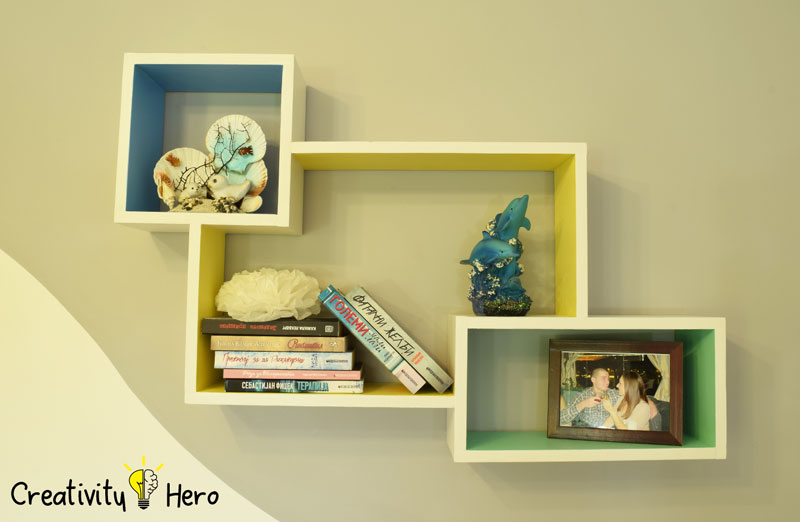
After I’m done with it I can now put some decorations on it. I’ve put my favorite books, a photo frame and some other interesting things that were hidden somewhere else in my room and didn’t have the opportunity to be seen until now.
I hope I inspired you to use your imagination and create something that will make your room look unique and beautiful.
Let me know what you think about this project down in the comments, and also don’t forget to hit the like button and subscribe to my YouTube channel.
